
A 3D rendering of a whole-home remodel on a 1970s Phoenix ranch can show you whether a 40-inch aisle between a new island and the range feels tight, but it can’t show you the drain line that has to cross the slab to get a relocated hall bath where the model puts it. Both of those facts matter, and most homeowners only hear about the first one.
Late September is when a lot of Valley households start design on a project they want under construction after the holidays. The rendering is the part of that design phase people look forward to, because it’s the first time the plan looks like a house instead of a drawing. We use renderings on every whole-home project. We also spend a fair amount of time explaining what they can and can’t do, because a homeowner who approves a model without knowing its blind spots tends to find those blind spots in month three of construction.
What Does a 3D Rendering Show on a Whole-Home Remodel?
A 3D rendering shows layout, proportion, and how you move between rooms, all at once, which is the thing a paper floor plan fails to show most people. The National Kitchen and Bath Association’s Kitchen Planning Guidelines call for a work aisle of at least 42 inches for one cook and 48 inches for more than one, and a model lets you stand in that aisle on screen before a single cabinet is ordered. On a typical 1970s Phoenix ranch where the kitchen is being opened to the family room, that’s often the moment a couple sees that the island they sketched on a napkin leaves 40 inches, and that two people cooking on Thanksgiving will spend the day turning sideways.
On a whole-home project the value goes well past the kitchen. The model shows relationships between rooms that no single drawing sheet does:
- Sightlines. What you see from the front door once the wall between the entry and the great room comes out, including whether you’re now looking straight into the primary bedroom hallway.
- Door swings and hallway widths. Where the relocated laundry door opens, and whether it hits the pantry door when both are open.
- Ceiling planes. On 1980s Ahwatukee foothill homes with vaulted great rooms, the model shows where the vault meets the flat kitchen ceiling and whether the upper cabinets die into it or stop short.
- Alignment across open rooms. Whether the kitchen pendants, the dining fixture, and the family room fan line up on a common centerline or scatter across the ceiling.
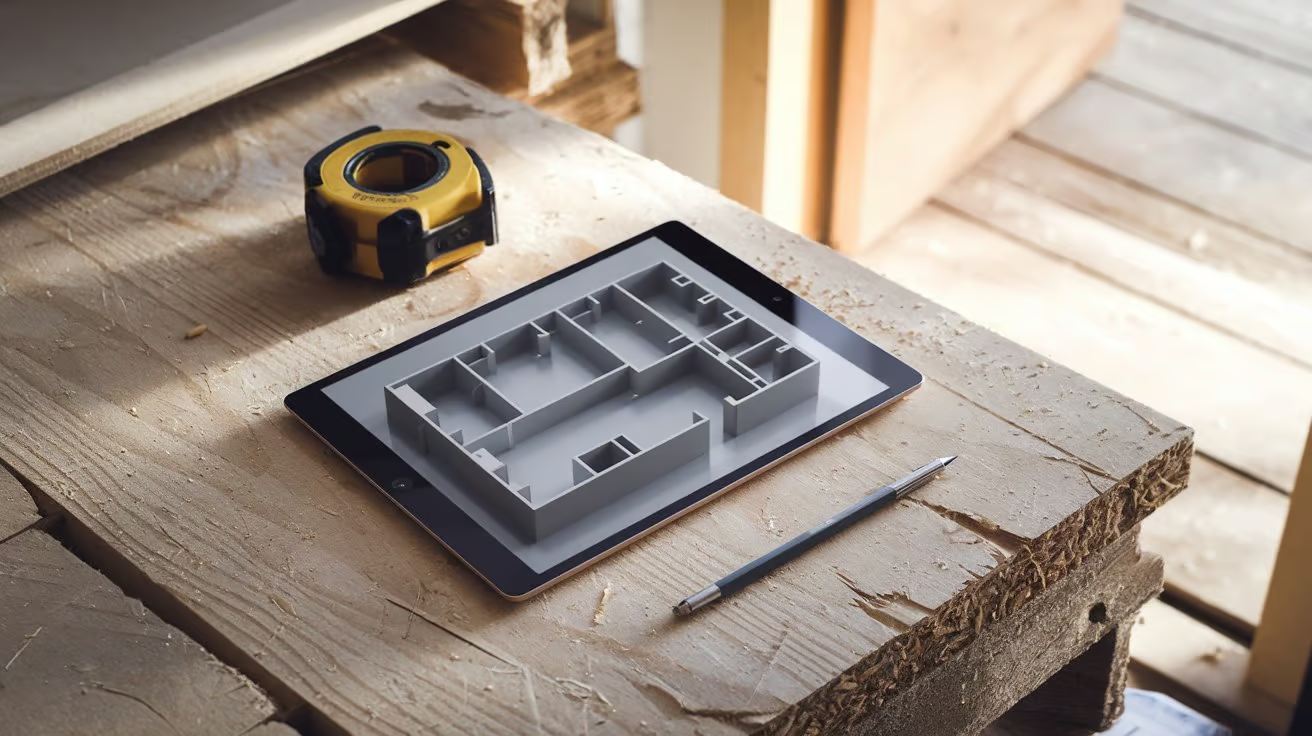
Those are decisions that cost almost nothing to change in design and a great deal to change once framing is up.
What Won’t a 3D Rendering Tell You?
A 3D rendering won’t tell you what’s inside the walls, what’s under the slab, or how a finish will look in your actual daylight. The International Code Council’s International Residential Code, Section R602.6, limits how deeply a stud in a bearing wall can be notched (25 percent of its width) and how large a hole can be bored through it, so a new drain or duct can’t simply run wherever the model shows a clean wall. On a single-story slab home in Mesa, moving a hall bath eight feet on the rendering takes a few seconds, and in the house it means saw-cutting and trenching the slab back to the main drain, which is scope the picture never shows.
The same gap applies to mechanical work. When a wall between two rooms comes out, the return air path in the house changes. The model shows a bigger room. It doesn’t show that the bedroom wing now pulls air differently, or that the soffit hiding a trunk line has to stay, shrink, or move. On older Arcadia and central Phoenix homes, where duct routing was often modified by two or three previous owners, nobody knows exactly where that soffit’s contents go until someone looks above the ceiling during design.
Then there’s color and texture. A monitor emits light, and a tile sample reflects it. A white quartz that reads warm on screen can look gray-blue in a north-facing Phoenix kitchen and noticeably yellow under 4 PM sun through a west-facing family room slider. Natural stone is harder still, because the model uses a repeating texture file and your actual slab has veining that nobody sees until it’s at the fabricator. We treat every color and material in a rendering as a placeholder until the physical sample has been in your house.
Is a 3D Rendering the Same as Construction Drawings?
A 3D rendering is a picture of the design, and the construction drawings plus the written scope are the documents the job is priced, approved, and built against. Arizona Revised Statutes § 32-1158, summarized on the Arizona Registrar of Contractors’ contract-requirements page, requires any residential contract over $1,000 to include a written description of the work to be performed, and a rendering alone doesn’t give you that. On a whole-home project in Chandler, the rendering shows a pantry wall in the right place, while the drawings carry its dimensions, the header over the opening, the outlet count, and the drywall finish level.
The two documents can disagree during design. Renderings get revised quickly, and drawings take longer to update, so for a few days during design the model can be ahead of the plan set. Before we fix the price, we reconcile them line by line. If the model shows a 36-inch opening and the drawings show 32, one of them gets corrected, and the scope follows the drawings. Homeowners should expect that same reconciliation from anyone building a whole-home project, and should ask about it by name.
Renderings also carry things that aren’t in the scope at all: furniture, rugs, art, a particular pendant style the designer dropped in to show scale. None of that is a commitment unless it shows up as a selection with an allowance attached. When we walk a model with homeowners, we point to anything decorative and say out loud whether it’s in the contract.
How We Run the Rendering Review on a Whole-Home Project
Here’s the sequence we follow on a whole-home project.
The model is built from our own measured existing-conditions set, never from a resale listing plan or the original builder brochure. Listing plans on Valley homes are routinely off by inches in the rooms that matter most, and a 3-inch error on a kitchen wall is the difference between a 42-inch aisle and a 39-inch one. We measure first, then model.

The first review covers layout only: walls, openings, cabinet footprints, ceiling planes, and fixture locations, shown in a plain model with neutral surfaces. Keeping color out of the first pass keeps the conversation on how the house works, which is where the expensive decisions live. We walk the model at eye height along the routes you actually use: in from the garage with groceries, from the primary bedroom to the kitchen at 6 AM, from the front door when guests arrive.
After the layout is approved, selections start, and they happen with physical samples on a table in three passes that narrow each time. The model gets updated with those selections so you can see proportion and contrast, but the samples decide the color. When the layout, selections, drawings, and scope all match, the price is fixed before shovel meets stucco, and the cabinet order goes in against that approved layout.
Up to that point, moving a wall in the model costs you a meeting. After the cabinets are ordered, the same move becomes a change order with a price and a calendar impact. Design-build does not eliminate every unknown, and a 1960s slab home will still have something behind a wall nobody could have predicted. What the rendering review eliminates is the category of change that was visible in design and just didn’t get looked at. Our design phase is built around getting you to that point with the layout settled.
Five Things to Check Before You Approve the Model
Whoever is designing your project, run these five checks before you sign off on a rendering:
- Walk your real routes. Ask the designer to move the camera at eye height from the garage entry, the front door, and the primary bedroom. Watch for doors that collide and corners you’d clip carrying a laundry basket.
- Check the aisles against NKBA numbers. Ask for the measured clearance between the island and the perimeter counters, and between any peninsula and the dining table. If a working aisle comes in under 42 inches, make sure someone chose that on purpose. Our kitchen remodeling work starts from those clearances.
- Put your actual furniture in the model. Renderings default to furniture sized to make rooms look good. Give the designer your sofa, dining table, and bed dimensions and have them swapped in.
- Look up. Check every soffit, beam, and vault line, and where the light fixtures land relative to them. Ask which soffits contain ducts or plumbing and whether they’re confirmed or assumed.
- Ask what’s in the picture but not in the scope. Point at each fixture, finish, and built-in and ask whether it’s a selection with an allowance, a placeholder, or decoration. In the bathrooms especially, confirm the shower layout in the model matches the drain location in the drawings.
If you’re still working out what a whole-home scope might run before design begins, our cost guide lays out project-level ranges for the Valley.
One Thing to Do This Week Before Design Starts
Buy a roll of blue painter’s tape and mark the one change you care about most directly on your floor: the island footprint, the new wall line, or the widened hallway. Leave it down for three days and live around it. Measure the aisles it creates with a tape measure and write the numbers down.
While the tape is down, take phone photos of your main rooms at 8 AM and again at 4 PM, and measure your three largest pieces of furniture. Bring the photos, the furniture dimensions, and your taped-aisle measurements to the first design meeting. A designer who gets those on day one builds a first model much closer to how your family actually lives in the house, and you’ll spend your review time on real decisions instead of correcting the basics.
A note on how this article was written: we use AI to help draft and research pieces like this, then a human on the team edits for accuracy and voice. Here’s how and why we use AI at PHR.