
The call comes in a predictable shape. A homeowner in Mesa or Gilbert is standing in a room that is technically done, a request for the final payment is sitting in their inbox, and something about the room is bothering them that they can’t put a name to yet.
What’s missing is a punch list, and more specifically a method for building one. Most homeowners have heard the phrase. Far fewer have ever been handed a process for walking a finished room and writing down what is actually wrong with it before the last check clears.
That gap is fixable, and it costs about twenty minutes per room.
What Belongs on a Punch List?
A punch list is the written record of incomplete or defective work a contractor still owes you before the job closes out, and it covers workmanship rather than preference. The National Association of the Remodeling Industry’s homeowner contract guidance treats closeout as a documented step with a written list of remaining items, not a conversation at the front door on the last day. On a Chandler guest bath, that means a door that rubs the jamb, a grout line pulling away where the tile meets the tub deck, and a switch plate sitting proud of the wall all belong on the list, while deciding you would rather have picked a different tile does not.
That second category still has a home. It’s a change order, priced and signed like any other change, and keeping it off the punch list protects both sides. A punch list that mixes defects with new requests turns into an argument about scope at the exact moment you want a short, checkable set of items and a date.
When Should You Walk a Punch List?
Walk it once when every trade is finished and the space has been cleaned, then walk it a second time after the contractor has worked through the items. The National Kitchen and Bath Association’s project process places a formal client walkthrough in the closeout phase, ahead of final payment rather than after it. On a Phoenix kitchen that timing usually lands the week after the countertop fabricator’s return trip, once the plumber has set the faucet and the electrician has trimmed out the under-cabinet lighting.
Walking early is the common mistake. If the painter still has touch-up scheduled and the cabinet installer is coming back for door adjustments, half of what you write down was already on somebody’s list, and the real defects get buried in the noise. Wait for the clean.
Time of day matters more than most homeowners expect. Phoenix afternoon light coming through a west-facing window rakes across a wall at a low angle and shows every drywall imperfection that overhead lighting hides at noon. Walk the room twice, once in the morning and once late in the day, and you will find different things.
How to Walk a Room One Plane at a Time
The method that works is boring and mechanical, which is why it works. Instead of standing in the middle of the room and looking around, you take the room apart plane by plane in a fixed order, and you write down everything you find on each plane before moving to the next.
- Floor. Kneel down and look across it, not at it. Check grout lines for consistent width and color, look for haze on porcelain tile, check transitions at doorways, and run a hand along the base of the baseboard for gaps.
- Walls, one at a time. Hold a flashlight flat against the wall so the beam skims the surface. Every paint holiday, drywall dimple, and texture inconsistency shows up in that raking light.
- Ceiling. Look for texture mismatch where new drywall meets old, and check that can lights sit flush and square to each other.
- Openings. Open and close every door and drawer twice. Check reveals, listen for rubbing, and confirm doors stay where you leave them at half-open.
- Anything that carries water or power. Run every faucet hot and cold, fill and drain every sink, test every switch against every fixture, and plug something into every outlet.
- Caulk and sealant joints. Tub decks, countertop backsplashes, and the perimeter of any tile field. Look for shrinkage, gaps, and lines that wander.
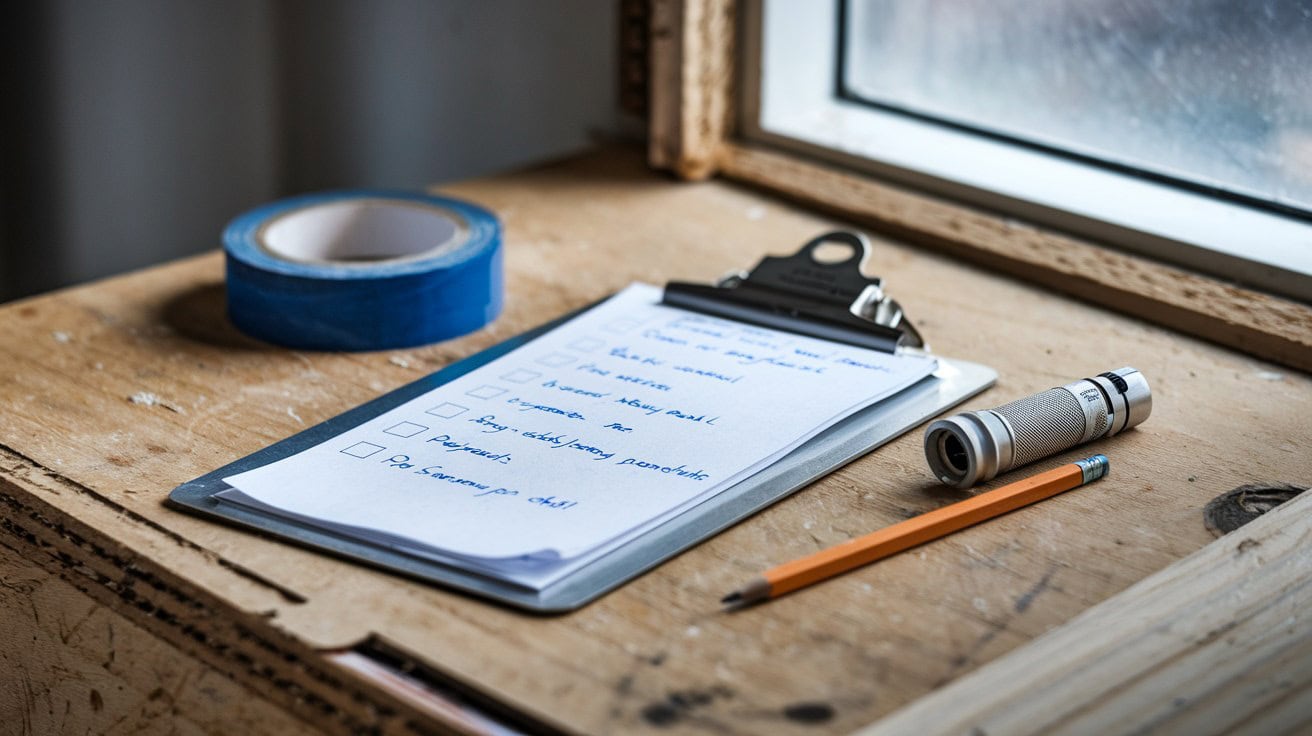
Put a piece of blue painter’s tape next to every item as you go, photograph each one with your phone, and only then write the list. Tape gives the crew a target they can’t miss. Photos give you a record with a timestamp on it.
The Items Phoenix Punch Lists Catch Most
Across Valley projects the same handful of items lead almost every list we write, and most of them trace back to how houses here are built and what the climate does to them.
Knockdown texture is the standard wall finish on most Phoenix homes built after the 1980s, and it hides paint coverage problems until low-angle light hits it. Grout haze on floor tile is the second one, and it gets worse when someone wipes a floor down with Valley tap water, because Maricopa County water is hard enough to leave its own film behind. Door hardware alignment is the third, since slab-on-grade construction moves seasonally and a door hung in July does not always close the same way in January.
Caulk joints round out the list. Phoenix indoor humidity sits low most of the year, and sealant that was tooled during a monsoon-season week can shrink noticeably by the time the dry air of October pulls the moisture back out of it. A hairline gap at a tub deck three weeks after install is not always bad workmanship, but it is always a punch-list item, and a contractor who is still on the job will handle it in ten minutes.
Does Final Payment Come Before or After the Punch List?
After the list is written and agreed to, and in most well-written contracts after the items are actually complete. The Arizona Registrar of Contractors directs homeowners to a written contract that spells out the payment schedule in advance and to document workmanship concerns in writing, and Arizona law gives residential owners a limited window, generally two years from completion, to file a written complaint with the agency. A homeowner in Ahwatukee whose contract ties the final payment to substantial completion should ask, before the walkthrough begins, which items the contractor already considers outstanding and what the written schedule is for closing them.
Asking that question first puts you and the contractor on the same list before either of you has an opinion about the money. The list gets a date. The remaining items get owners.
If a contractor resists putting the remaining items in writing at all, you have learned something useful about how the closeout is going to go, and you have learned it while you still hold the last payment.
What Our Final Walkthrough Looks Like on a Phoenix Project
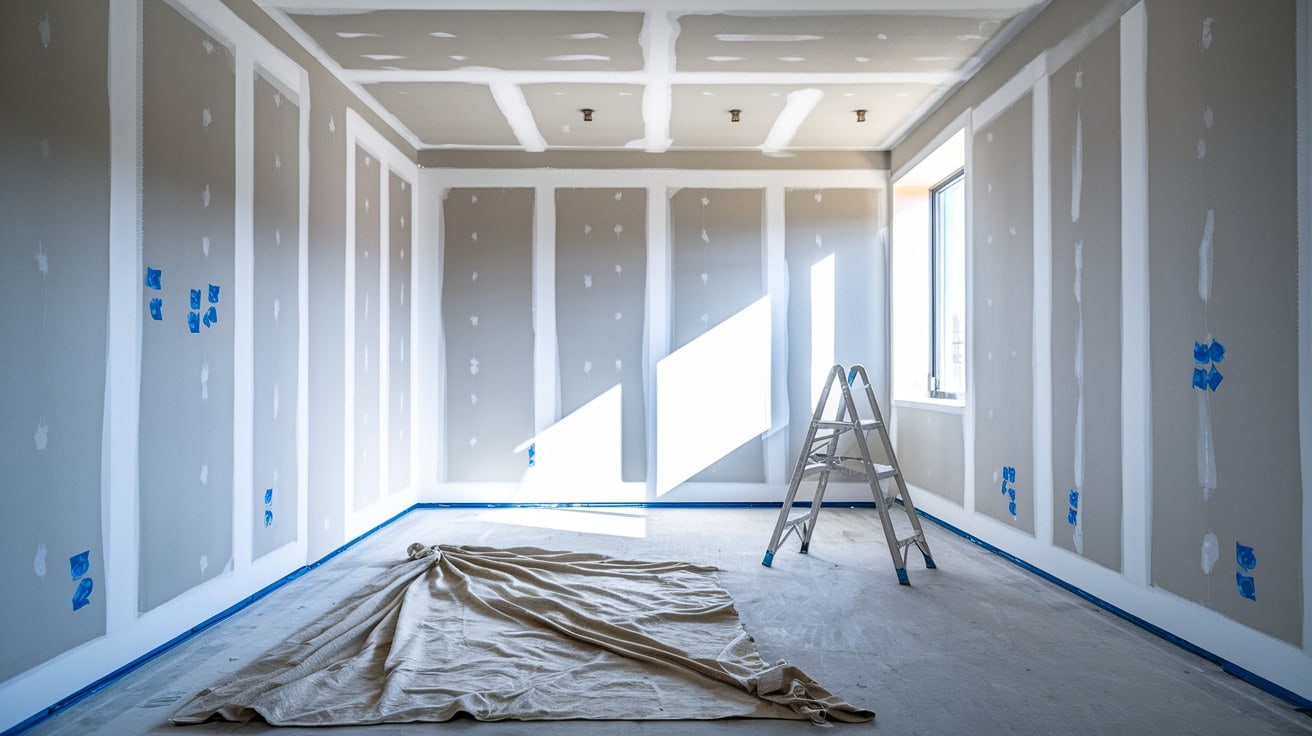
Our project manager walks every room twice before we ever ask a homeowner to walk it. The first pass happens with the room lights off and a work light held flat against each wall, which is the same raking-light trick described above, done by someone whose job is to find the problem before the client does. The second pass runs with every fixture on, every drawer cycled, and every water connection opened and closed.
Whatever survives those two passes goes on our internal list and gets corrected before the homeowner walkthrough is scheduled. Then the homeowner walks the same rooms with the PM, tape in hand, and adds whatever they find. That combined list gets a written completion date, and the PM owns it until every line is signed off. One number to call, one person accountable for the last five percent of the job, which is the part where most projects go sideways.
The reason we run it in that order is simple math. A crew that is still mobilized on your job fixes a rubbing door in ten minutes. A crew that has demobilized, released the trades, and moved to the next project fixes the same door in three weeks, if it comes back at all. Design-build does not eliminate every unknown on a remodel. It eliminates the expensive ones, and a punch list worked while the crew is still on site is one of the cheapest hours in the whole schedule.
Walk One Finished Room in Your House This Week
Pick a room you already live in, one nobody has touched in years, and run the six-plane walk on it. Floor, walls, ceiling, openings, water and power, caulk joints. Give yourself twenty minutes and a flashlight.
You will find things. A door that rubs, a caulk line that failed two summers ago, an outlet that no longer holds a plug. None of it is urgent, and that is what makes the room a good place to practice. Your eye gets calibrated where nothing is at stake, so that when you walk a room where fifty thousand dollars is at stake, you already know how to look at a wall.
Write what you find on paper and keep the sheet. When your project reaches closeout, you will already have a working format, a flashlight you know the beam angle of, and six planes to run in order.
For more on how the pieces of a project fit together, our design phase page covers what gets decided before construction starts, and the FAQ answers the contract and closeout questions homeowners ask us most. The Remodel Book walks through the full project sequence from first conversation to final walkthrough. If your project is a bath or a kitchen specifically, the bathroom remodeling page and the kitchen remodeling page lay out the scope categories a complete closeout should cover.
A note on how this article was written: we use AI to help draft and research pieces like this, then a human on the team edits for accuracy and voice. Here’s how and why we use AI at PHR.