
A homeowner in Mesa called us in July about a soft spot in the hallway carpet outside her guest bath. The shower was three years old. It had been remodeled by a contractor who came in $6,000 under everybody else, finished in eleven days, and disappeared. When we opened the wall, the tile was still perfectly flat and the grout still looked new — and behind it, the framing was black.
That’s the thing about shower waterproofing. It’s the one part of a bathroom remodel you will never see, never touch, and never be able to inspect after the tile goes on. Which is exactly why it’s the first line a cheap bid quietly removes.
What Shower Waterproofing Actually Is — and What It Isn’t
Tile is not waterproof. Grout is not waterproof. Cement board is not waterproof. All three are water-resistant, which in Phoenix means they’ll slow water down and then hand it off to whatever is behind them. The waterproofing is a separate, deliberate assembly that lives between the tile and the framing, and its whole job is to catch the water that gets through the tile — because water always gets through the tile.
There are two broad families. The old method is a mortar bed over a sheet-vinyl or PVC pan liner, with weep holes at the drain that are supposed to let the mud bed drain out. The modern method is a bonded membrane — a sheet or a liquid-applied coating coated directly onto the substrate, with the tile set right on top of it, so water never gets into a mud bed at all.
Both methods pass code. Only one of them is still a good idea in a house where nobody is ever going to service a weep hole. We’ve stopped building the first kind entirely, and when we’re scoping a shower remodel we tell homeowners which system we’re specifying and why, in writing, before there’s a price on anything.
Why Do Phoenix Showers Fail Faster Than People Expect?
Phoenix showers fail early because most of them were built with a mortar bed and a plastic pan liner, and that assembly leaks at the corners and the drain connection long before the tile gives any sign of it. The Tile Council of North America’s Handbook has recommended bonded, ANSI A118.10-rated waterproofing directly beneath the tile for years now, precisely because the older liner-and-weep-hole method depends on a drain that no homeowner has ever cleaned. On a 1994 Gilbert guest bath we opened last spring, the liner was intact and the tile field looked flawless — but the mud bed under it had held water long enough to grow mold up the back of the shared wall and into the hallway linen closet.
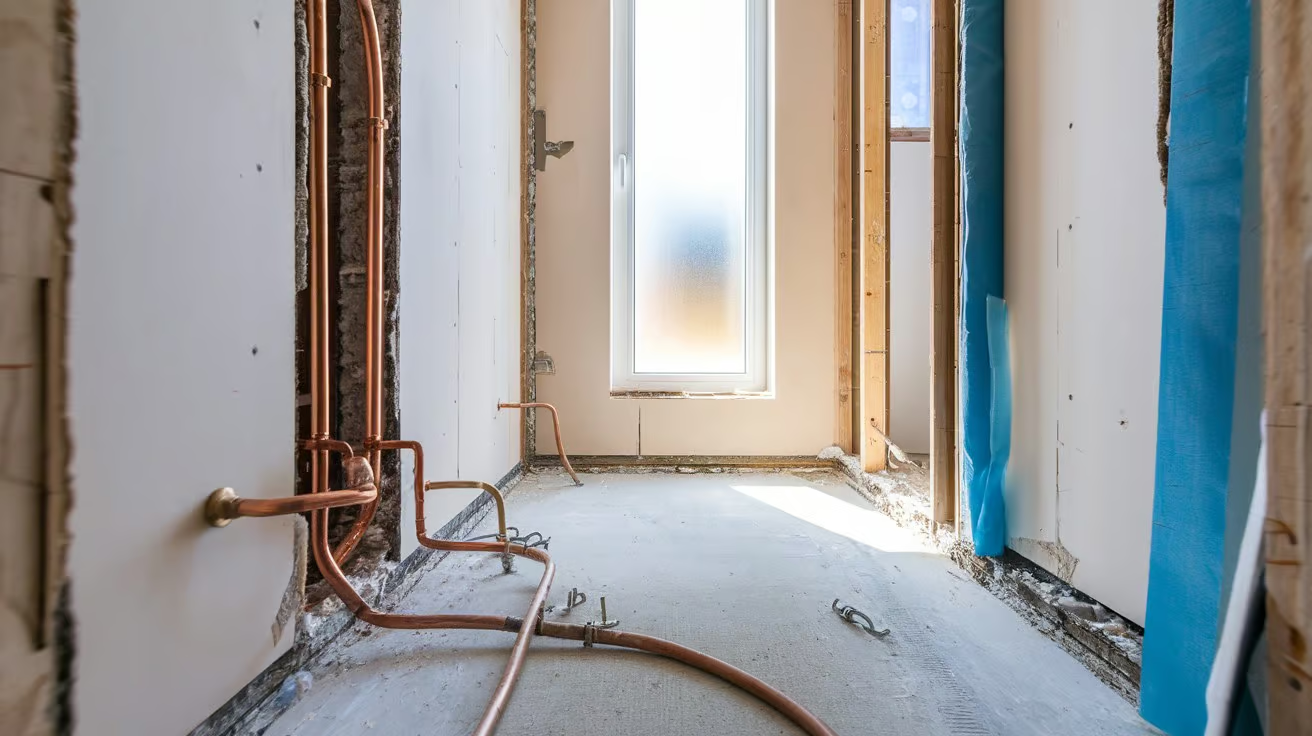
Then there’s our water. City of Phoenix Water Services reports Valley tap water running roughly 12 to 17 grains per gallon — hard by any measure in the country. Hard water doesn’t attack the membrane, but it does two things that matter. It builds scale on the shower valve and diverter, which makes homeowners crank harder and eventually leak at the cartridge. And it slowly erodes and opens up grout joints, which means the water reaching your waterproofing layer is a bigger volume, sooner, than the same shower would see in Portland.
Add slab-on-grade construction, where there’s no crawlspace and no basement ceiling for a leak to announce itself in, and you get the Phoenix pattern: the failure is invisible for two to five years, and the first symptom is drywall damage in an adjacent room.
The Three Systems We Specify and Where Each One Fits
We use three, and the layout picks the system — not the price sheet.
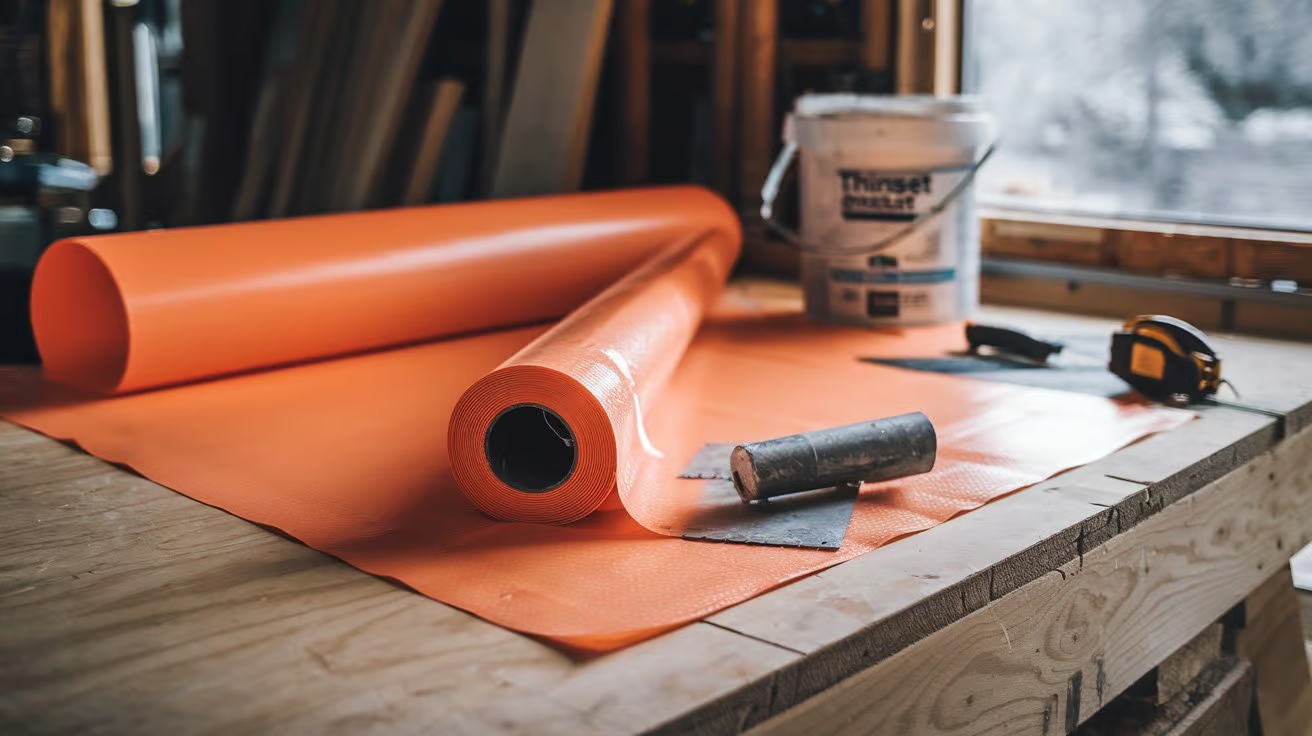
- Kerdi (sheet membrane). Orange polyethylene fleece-backed sheet, bonded with unmodified thinset, with preformed corners and a bonding flange at the drain. This is our default. It’s inspectable — we can flood-test it and photograph it before a single tile goes down — and the corner pieces remove the part of the job that depends on an installer’s patience at 4:30 on a Friday.
- RedGard (liquid membrane). Rolled or troweled on in two coats, pink going on and red when cured. Good for odd geometry, curved walls, and benches where sheet goods want to fight you. The trade-off is honest: liquid membrane is only as good as its mil thickness, so it demands a contractor who actually checks coverage instead of eyeballing it.
- Wedi (foam board). Waterproof board that replaces the substrate instead of coating it. It’s the most expensive of the three and it’s the one we reach for on curbless entries and linear-drain layouts, where the slope has to be built into a panel rather than floated by hand.
Any of the three, installed correctly, will outlast the tile on top of it. All three come with manufacturer system warranties that are void the moment you mix components — Kerdi band with a competing membrane, a third-party drain with a Wedi pan. That mixing is the single most common thing we find behind a failed Phoenix shower.
How Cheap Bids Hide the Missing Waterproofing Line
Nobody writes “no waterproofing” on a proposal. Here’s what they write instead, and what each one means.
“Install cement board and tile.” Cement board is a substrate, not a waterproofing layer. If the line stops there, the shower is not waterproofed. Ask, in an email, which ANSI A118.10 product is going over the board.
“Waterproof per code.” Code is the floor, and the old pan-liner method still clears it. This phrase lets a contractor build the assembly we just spent three paragraphs telling you not to build.
“Shower pan — allowance $900.” An allowance is a placeholder, not a price. We’ve written about how allowances become blank checks, and shower waterproofing is where it bites hardest, because the homeowner has no way to judge whether $900 bought a system or a bucket.
Nothing at all. The line simply isn’t there. Count the line items on the two lowest bids you’ve received against the two highest. The gap is rarely labor rate. It’s usually three or four line items that only one contractor bothered to write down.
None of this means the low bidder is a crook. Plenty of good tile setters price the way they were taught. But you’re the one who owns the wall in 2031, so you’re the one who has to ask.
How Much Does Proper Shower Waterproofing Cost in Phoenix?
Bonded waterproofing adds roughly $1,200 to $2,500 to a Phoenix shower, depending on square footage and which of the three systems the layout calls for. Custom Building Products’ published RedGard coverage rate — about 50 square feet per gallon at the required two coats — and Schluter’s Kerdi sheet and band pricing put materials somewhere in the $3-to-$6-per-square-foot range before labor, and labor is the larger half. On a 42-square-foot Ahwatukee shower with a bench and two niches, that landed at about $1,800 on our last fixed-price proposal, itemized on its own line so the homeowner could see exactly what she was buying.
Set that against the alternative. The Mesa repair we opened in July ran past $14,000 by the time we replaced framing, subfloor edge, drywall in two rooms, and the tile that had to come out to get there — and none of that money bought her a nicer bathroom. It bought her the same bathroom, again. That math is why we won’t quote a shower without the line.
What a Real Design-Build Shower Project Looks Like Week by Week
Here’s the sequence on our jobs. In the design phase, our designer produces a 3D rendering of the shower with the drain location, bench height, and niche placement already resolved — because those three decisions determine which waterproofing system we can even use. At the selection meeting we put the tile, the slab chips, and the plumbing-finish cards on the table together and you pick once, not five times over text message.
Then the number gets fixed. Fixed price before shovel meets stucco, with waterproofing as its own visible line, and a change-order rule in writing that says the price only moves if you change the scope. Demo happens in week one. Rough plumbing and the drain flange go in week two, and before any tile is ordered to the site, your project manager sends you a photo of the flood test — a plugged drain, two inches of standing water, and a timestamp twenty-four hours later showing it hasn’t moved.
Design-build does not eliminate every unknown. It eliminates the expensive ones. The flood-test photo is the cheapest insurance in the whole bathroom remodel, and it costs us nothing but a day.
The 20-Minute Check You Can Run This Weekend
You don’t need a contractor to do this. Go stand in your oldest shower with a flashlight and a paper towel.
Run your thumbnail down every inside corner and around the base of the shower valve escutcheon. If the grout crumbles or the caulk has pulled away from the tile, water has a path. Press the paper towel into the corner where the shower floor meets the wall and hold it for ten seconds — if it comes out damp on a shower nobody has run since morning, note it. Then go to the other side of that wall, in the next room, and run your hand along the baseboard and the bottom eighteen inches of drywall. Cool to the touch, soft, chalky paint, or a faint musty smell at the floor line all mean the same thing.
Take three photos: the corner, the valve, and the far side of the wall. Date them. If you’re planning any bathroom work in the next year — including the aging-in-place changes a lot of Valley households are making now — those three photos turn a vague “we should redo the bathroom sometime” into a scope conversation with actual evidence in it. And if the paper towel comes out dry and the corners are tight, you just bought yourself a year of not worrying about it. That’s worth twenty minutes either way.